How to Change a Tire. First Gear’s Step by Step Guide
It is something that we will all experience at some point in our driving lives, a flat tire. It always seems to happened at the worst possible moment and is never an enjoyable experience. Calling CAA or a friend to come and assist you is extremely helpful, it may not always be an option. If you are far in the country, without cell service (or your phone) you may have to change the tire yourself. The problem is that a lot of people have never been taught how to change a tire. First Gear is here to help. Below is our easy, step by step guide on how to change a tire. If you are more of a visual learning you can book a Get to Know Your Vehicle Package where we teach you how to change the specific tires on your vehicle.
Step 1
Get to Safety
The first and most important step in changing a tire is to find a safe place to pull over. After you are safely off the road place wheel blocks or find some rocks or something heavy to place in front and behind at least 2 wheels that are not flat to keep them from rolling while you change the tire. If you have safety triangles, put those at the back of your vehicles to warn other drives you are pulled over Once you have done that you need your tools.
Step 2
Grab Your Tools
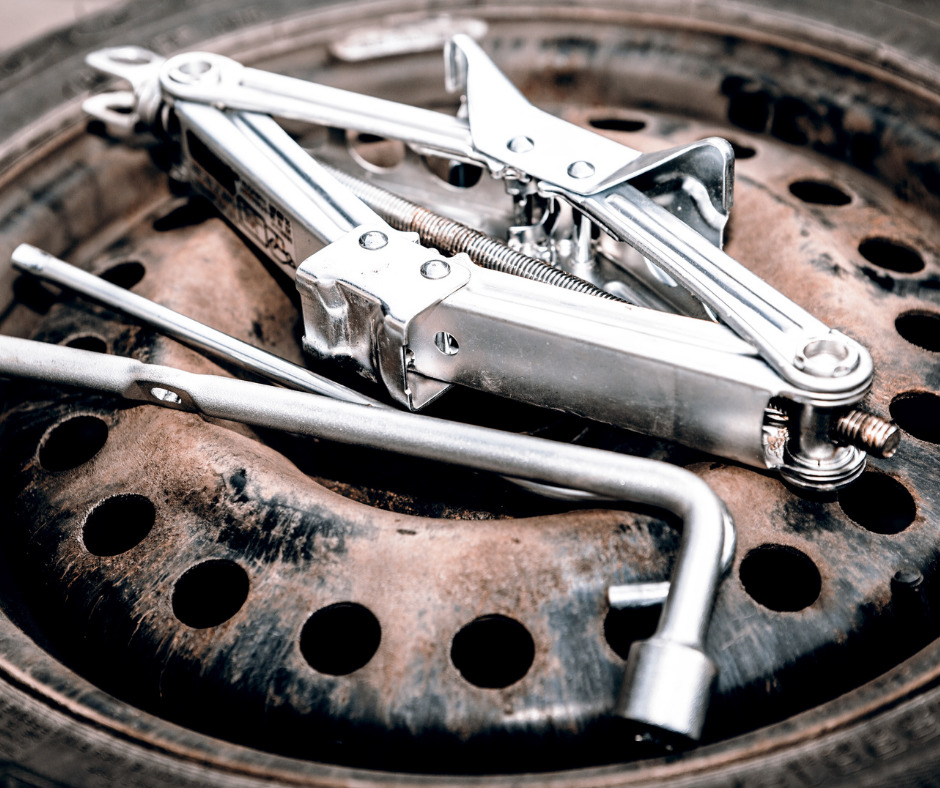
The three basic things that you will need are a jack, a wrench, and a spare tire. Most spare tires are kept under the floor of the trunk on the inside of the vehicle or underneath the trunk on the outside of the vehicle. A wrench and a jack do not take up much space and can easily be kept in your trunk. First Gear also recommends having a flashlight, gloves, kneeling mat, tire gauge, Flathead screwdriver, rain poncho and your vehicle’s owner’s manual in a tire change kit to make the job easier. Some vehicle models may require additional tools like a wheel lock. A wheel lock is designed to prevent your tire, rims or wheels from being stolen. Most cars have one per wheel and they require a specific key that is unique to only those locks to get it off. Most people keep this in their glove box or centre console. If you have a wheel lock you will need this key in order to change the tire.
Step 3
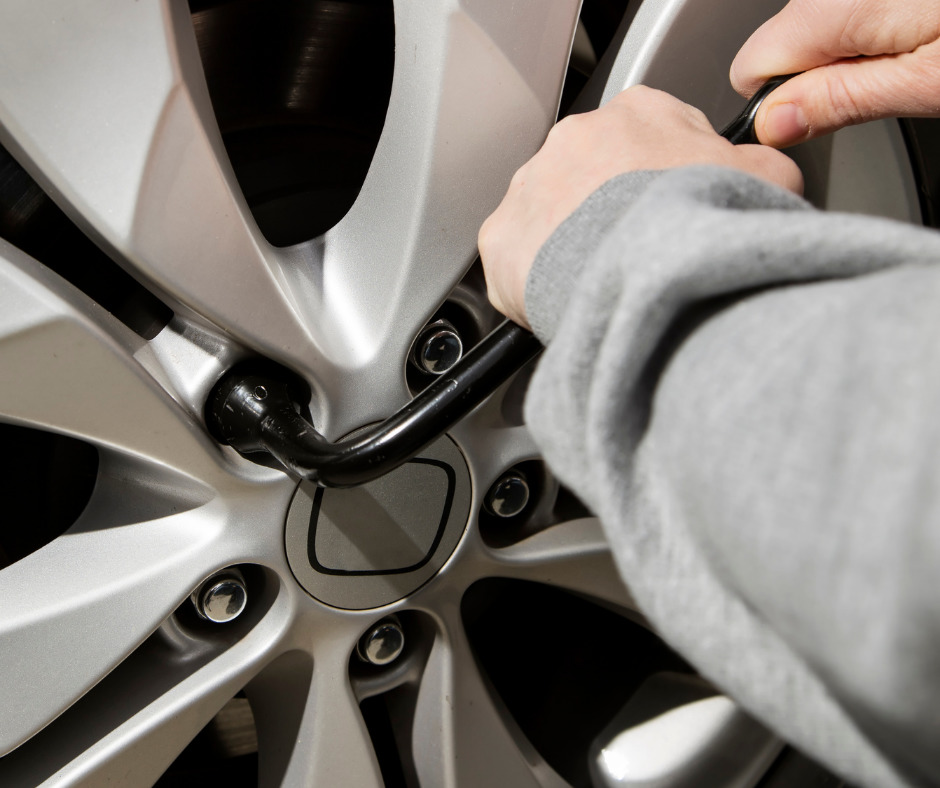
Loosen Your Nuts
If you have a hubcap or wheel cover, carefully remove it. This is fairly easy to do. Just insert a flat head screwdriver behind the hub cab and a pull toward you. The hub cab should pop right off. Now you will take your wrench and put it on to a lug nut. These are nubs located around the tire usually 4 or 5. With the wrench on the lug nut turn it counter clockwise to loosen it. You want to make sure that it is loose enough to turn by hand. Do this for each lug nut but do not remove them yet.
Step 4
Jack It Up
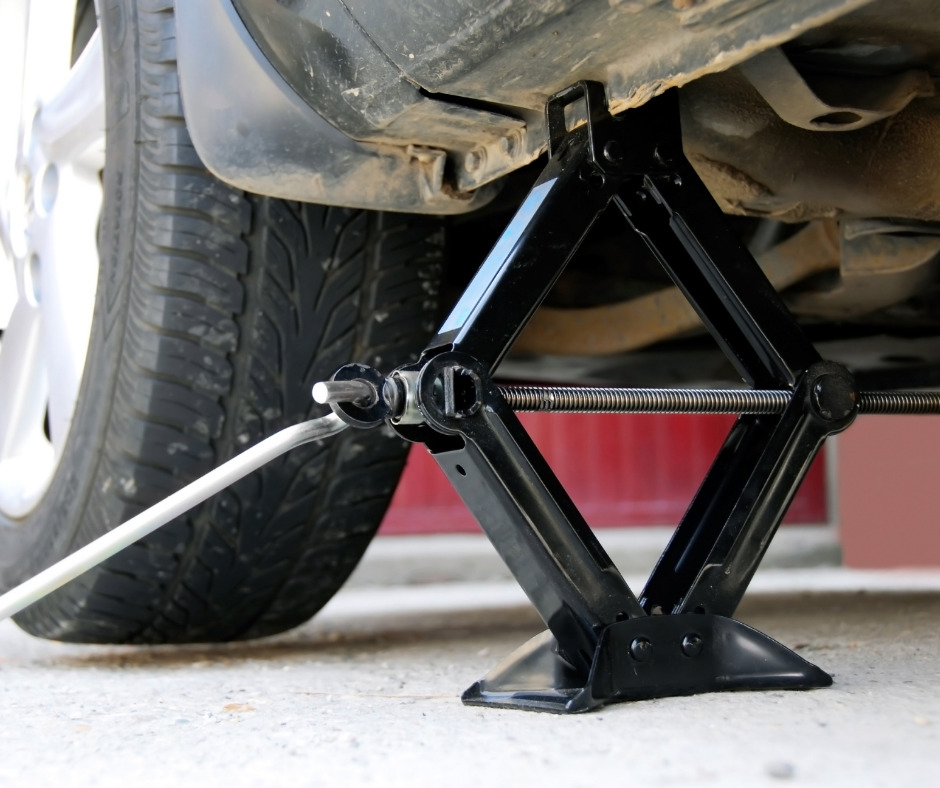
Next, refer to your owner’s manual to find the correct location to use the jack. The correct location is reinforced so It won’t do damage to your car’s frame or undercarriage. Putting the jack anywhere else could cause damage to the frame of the car, or even worse, could cause the car to fall off the jack while you are working on it, seriously injuring you. Once you identify the correct location, use the jack to slowly lift your vehicle until the wheel spins freely, but not far enough for the car to slide off the jack. A vehicle jack uses the power of hydraulics or mechanical leverage to lift up part of a car allowing you access to be able to change the tire. When choosing a jack it is important to select one with the correct weight rating for your vehicle. You want to make sure the jack can handle MORE weight than your car. If your car weighs 1.5 tons, you’ll want a 2-ton jack. This ensures that you are not operating at the edge of a jack’s capabilities.
You will also want to make sure that you select the right jack type for your vehicle. If you have a sedan or sports car a low-profile hydraulic floor jack will be best. If you drive a truck or SUV you will want a pop-up hydraulic bottle jack. Check your vehicle’s manual to see where the factory lift points are located. Never assume that the spot you’ve picked is safe before lifting, you run the risk of damaging the vehicle or potentially creating a dangerous situation.
Step 5
Take it Off!
Remove the lug nuts and put them in your pocket or somewhere they will not roll away. Pull the tire off straight towards you. Place it down and get your spare tire. Line up the holes in the spare with the lug nut posts and place the spare on the wheelbase. Push the spare as far onto the wheelbase as possible. Put the lug nuts back on and tighten them as much as you can by hand.
Step 6
Tighten, Tighten, Tighten
It’s very important to tighten your lug nuts in a way that keeps the tire even. Tighten all lug nuts in a star pattern as tight as you can by hand. Using the jack slowly lower the vehicle back down until the spare tire just touched the ground. This holds the tire in place as you tighten the lug nuts with the wrench. Tighten the lug nuts by alternating every other nut. If you assign each nut a number you would tighten: 1,3, 5, 2, 4 and repeat. This helps you keep the tire on straight. Once you have tightened all of the nuts so they can no longer budge you can lower the vehicle all the way to the ground. Once on the ground you may be able to tighten them a little further.
Step 7
Clean Up
You can now put your old tire where the spare can from and put all of yours away. Depending on what happened you may be able to repair the old tire. If not you will have to buy a new one as soon as possible. Spare tires are not meant to be driven on for long distance or periods of time. Their purpose is to get you safely to a mechanic so that you can get your old tire repaired or a new one put on.